Docker
Learn how to deploy your project with Docker
This guide will help you deploy your project with Docker or Dokploy.
Deploy with Dockerfile
MkSaaS template comes with a pre-configured Dockerfile and .dockerignore file, so you can easily deploy it with Docker.
# syntax=docker/dockerfile:1
FROM node:20-alpine AS base

# Install dependencies only when needed
FROM base AS deps
# Check https://github.com/nodejs/docker-node/tree/b4117f9333da4138b03a546ec926ef50a31506c3#nodealpine to understand why libc6-compat might be needed.
RUN apk add --no-cache libc6-compat
WORKDIR /app

# Install dependencies
COPY package.json pnpm-lock.yaml* ./
# Copy config files needed for fumadocs-mdx postinstall
COPY source.config.ts ./
COPY content ./content
RUN npm install -g pnpm && pnpm i --frozen-lockfile

# Rebuild the source code only when needed
FROM base AS builder
WORKDIR /app
COPY --from=deps /app/node_modules ./node_modules
COPY . .

# Next.js collects completely anonymous telemetry data about general usage.
# Learn more here: https://nextjs.org/telemetry
# Uncomment the following line in case you want to disable telemetry during the build.
# ENV NEXT_TELEMETRY_DISABLED 1

RUN npm install -g pnpm \
  && DOCKER_BUILD=true pnpm build

# Production image, copy all the files and run next
FROM base AS runner
WORKDIR /app

ENV NODE_ENV=production
# Uncomment the following line in case you want to disable telemetry during runtime.
# ENV NEXT_TELEMETRY_DISABLED 1

RUN addgroup --system --gid 1001 nodejs
RUN adduser --system --uid 1001 nextjs

COPY --from=builder /app/public ./public

# Set the correct permission for prerender cache
RUN mkdir .next
RUN chown nextjs:nodejs .next

# Automatically leverage output traces to reduce image size
# https://nextjs.org/docs/advanced-features/output-file-tracing
COPY --from=builder --chown=nextjs:nodejs /app/.next/standalone ./
COPY --from=builder --chown=nextjs:nodejs /app/.next/static ./.next/static

USER nextjs

EXPOSE 3000

ENV PORT=3000
ENV HOSTNAME="0.0.0.0"

# server.js is created by next build from the standalone output
# https://nextjs.org/docs/pages/api-reference/next-config-js/output
CMD ["node", "server.js"]
.cursor
.claude
.conductor
.kiro
.github
.next
.open-next
.source
.vscode
.git
.wrangler
.dockerignore
node_modules
**/node_modules
Dockerfile
LICENSERunning locally with Docker
If you have Docker installed on your local machine and want to run your Next.js app there for testing the docker image, simply run the following commands from your project’s root:
docker build . --no-cache -t mksaas-template
docker run -p 3000:3000 mksaas-template
Now you can deploy your app to any server that supports docker images.
Deploy with Dokploy
I highly recommend using Dokploy to deploy MkSaaS, because it’s much easier to setup the whole thing and you can get the automatic CI/CD pipeline like Vercel out of the box.
Prerequisites
Before deploying your project with Dokploy, make sure you have:
- A Git repository containing your project code (like GitHub)
- A self-hosted Dokploy instance installed on your own server
- Environment variables configured for the production environment
Deployment Steps
Create a new project on Dokploy
Click on the Create project button and set the project name and description.
Create an application in the project
Click on the Create services button and select Application, then set the application name and description.
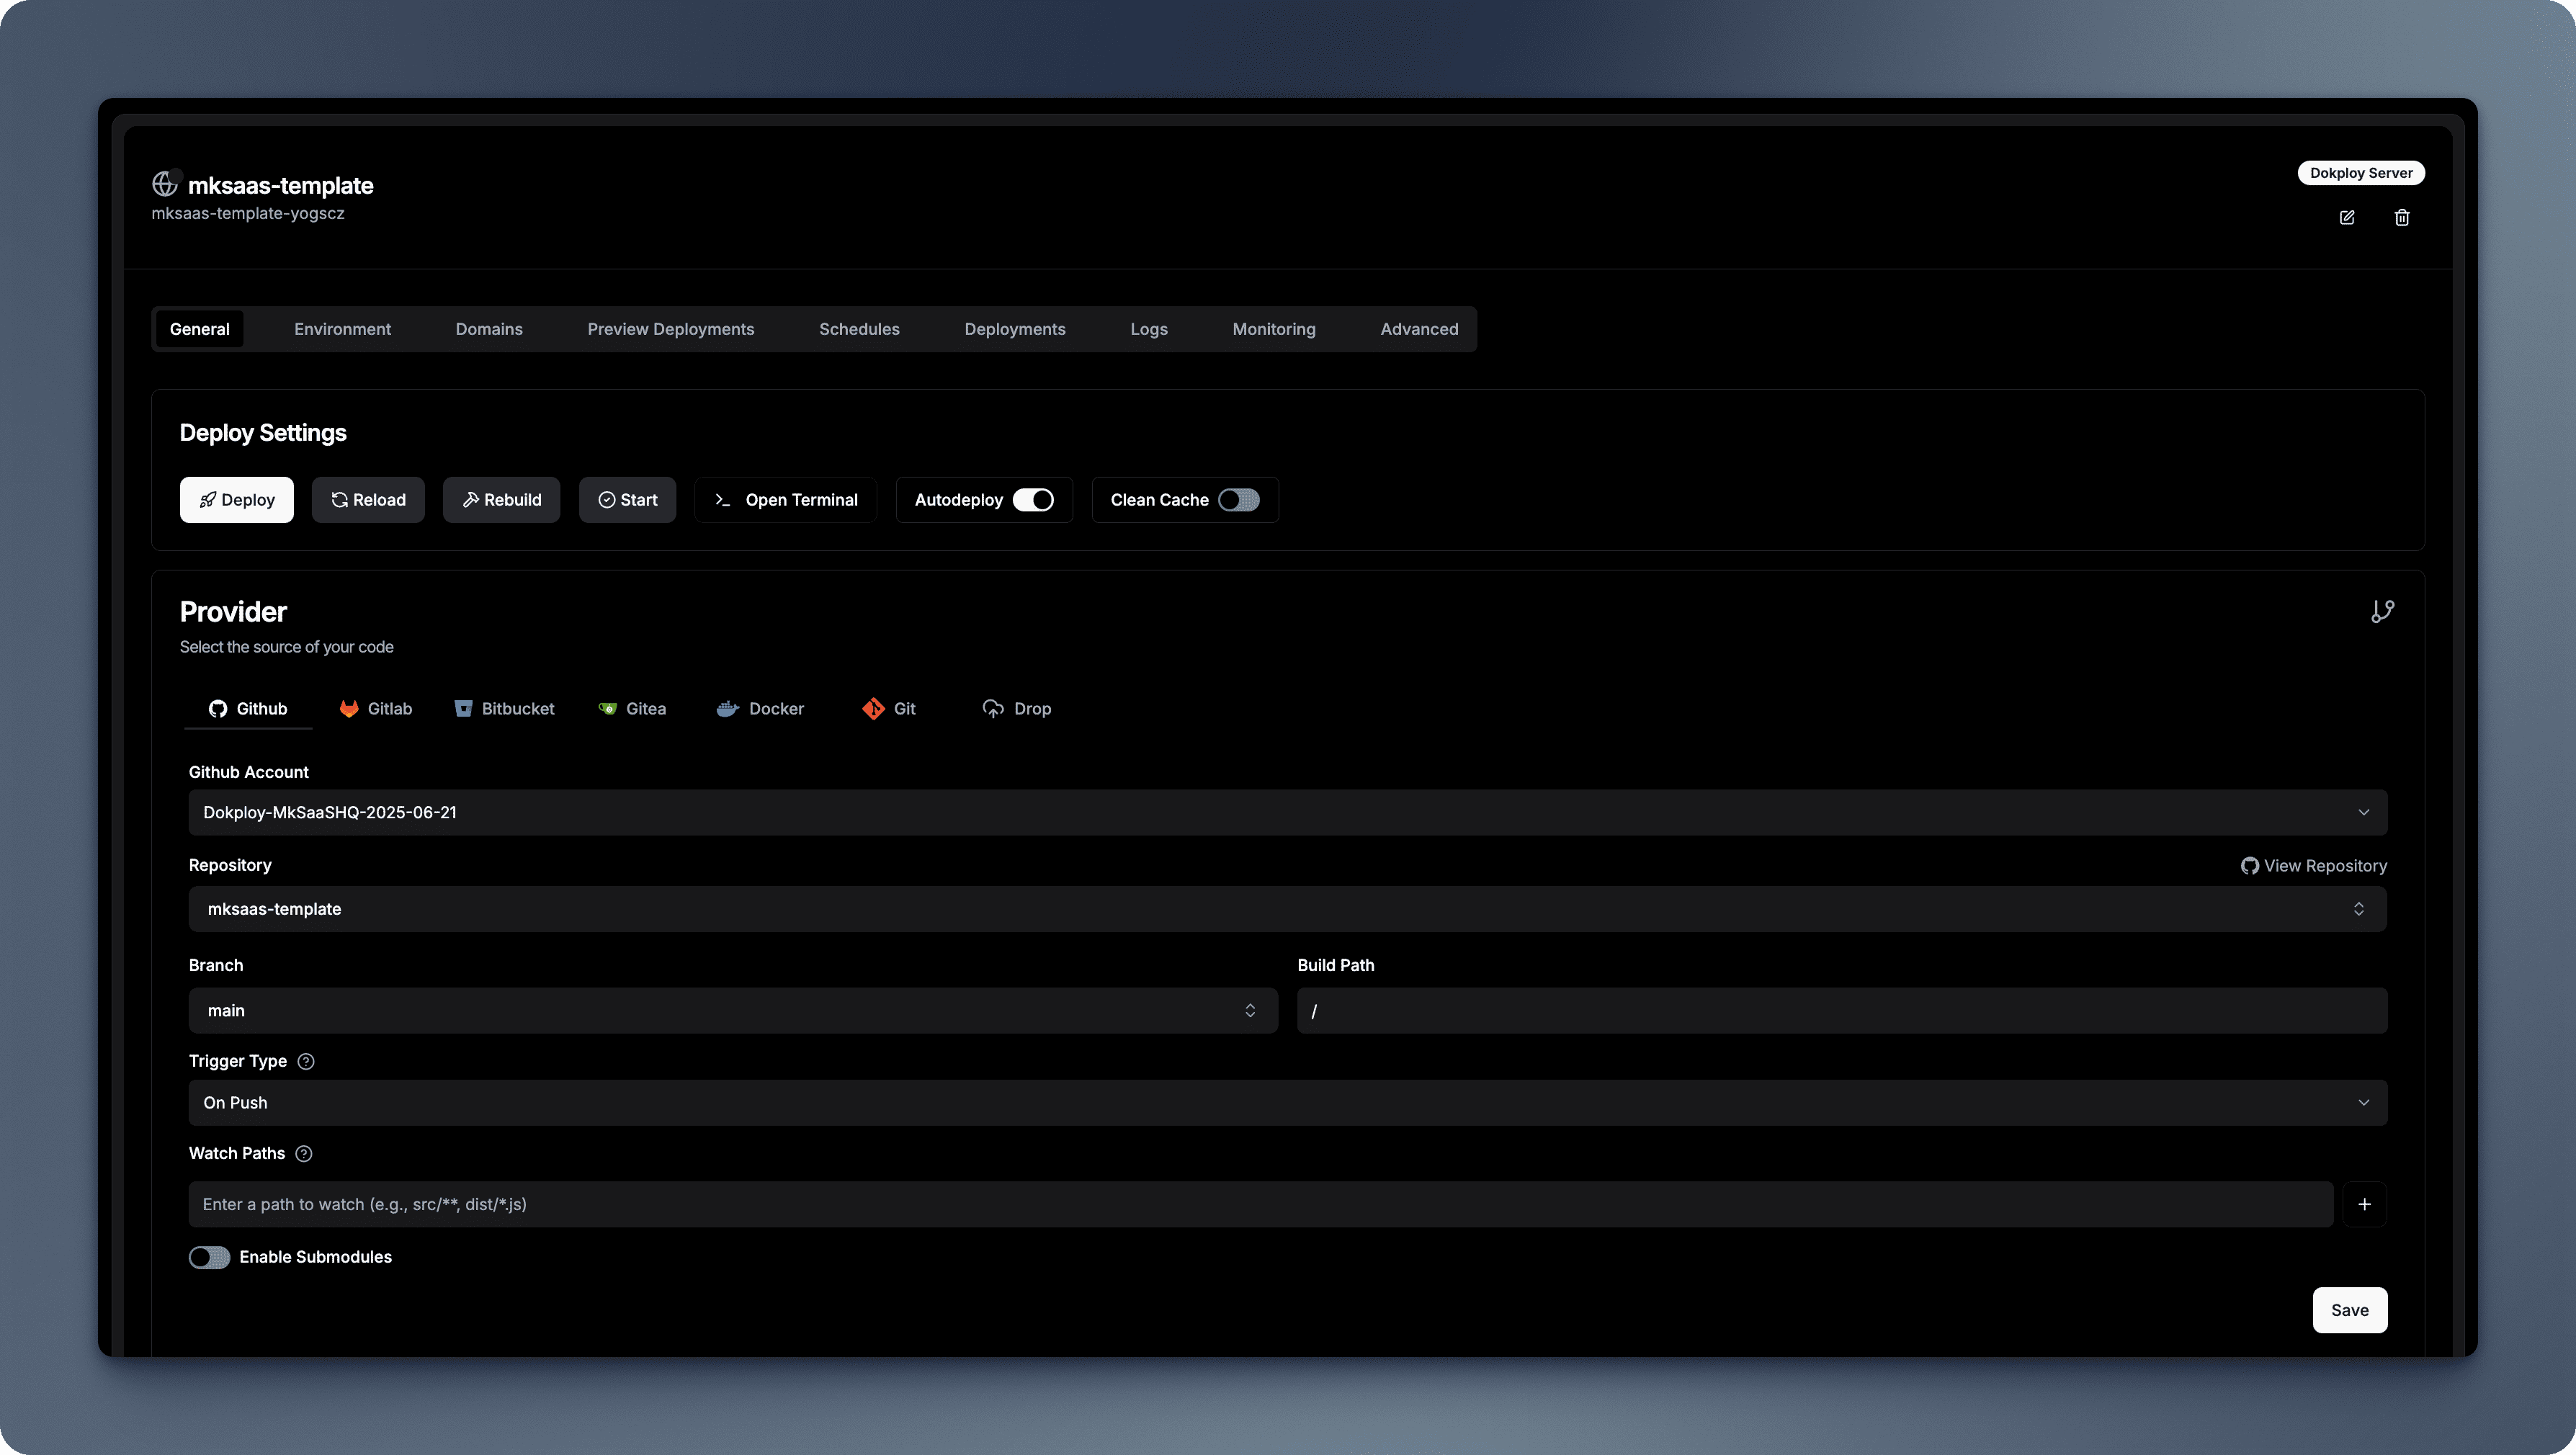
Bind your Github account, repository and branch
In the Provider section, click on the Github button and select the Github account, repository and branch.
Set build type and Docker file
In the Build Type section, select Dockerfile, and set the Dockerfile path to ./Dockerfile.
Set environment variables
Copy the content from the .env file and paste them in the Environment settings.
Make sure to add all necessary environment variables for running the project in the production environment, please refer to the Environment Setup guide for more details.
Deploy the Project
Click the Deploy button to start the deployment process. Dokploy will automatically build and deploy your project.
Bind your domain
- In the
Domainssection, click on theAdd Domainbutton - Set the
Domainto your custom domain,Pathto/,Portto3000 - Enable the
HTTPSoption, and setLet'sEncryptas the certificate provider - Click on the
Createbutton - Add the DNS records for your domain on your DNS provider
- Change the environment variables
NEXT_PUBLIC_BASE_URLto your custom domain - Redeploy the project to apply the changes
References
Next Steps
Now that you understand how to deploy your MkSaaS website to Dokploy, explore these related topics: