Learn how to set up and use email functionality with Resend and React Email templates
MkSaaS uses Resend for email delivery and React Email for creating beautiful email templates.
Setup
Create Resend Account
Create a Resend account at resend.com.
Get API Key
Click API Keys > Create API Key in the dashboard, set the permissions to Send emails or Full access. Get the API key, and add it to the environment variables file:
RESEND_API_KEY=YOUR-RESEND-API-KEYUpdate Website Configuration
Update the website.tsx file. Note that fromEmail is the sending email address, supportEmail is the support email address:
export const websiteConfig = {
  // ...other config
  mail: {
    enable: true,
    provider: 'resend',
    fromEmail: 'support@example.com',
    supportEmail: 'support@example.com',
  },
  // ...other config
}
If you are setting up the environment, now you can go back to the Environment Setup guide and continue. The rest of this guide can be read later.
Environment Setup
Set up environment variables
Usage
import { sendEmail } from '@/mail';

// Send email using a template
await sendEmail({
  to: 'user@example.com',
  template: 'verifyEmail',
  context: {
    name: 'John Doe',
    url: 'https://example.com/verify?token=abc123',
  },
  locale: 'en', // Optional, defaults to config default locale
});

// Send raw email
await sendEmail({
  to: 'user@example.com',
  subject: 'Welcome to our platform',
  html: '<h1>Hello!</h1><p>Welcome to our platform.</p>',
  text: 'Hello! Welcome to our platform.', // Optional
});
Email Templates
MkSaaS includes several pre-built email templates:
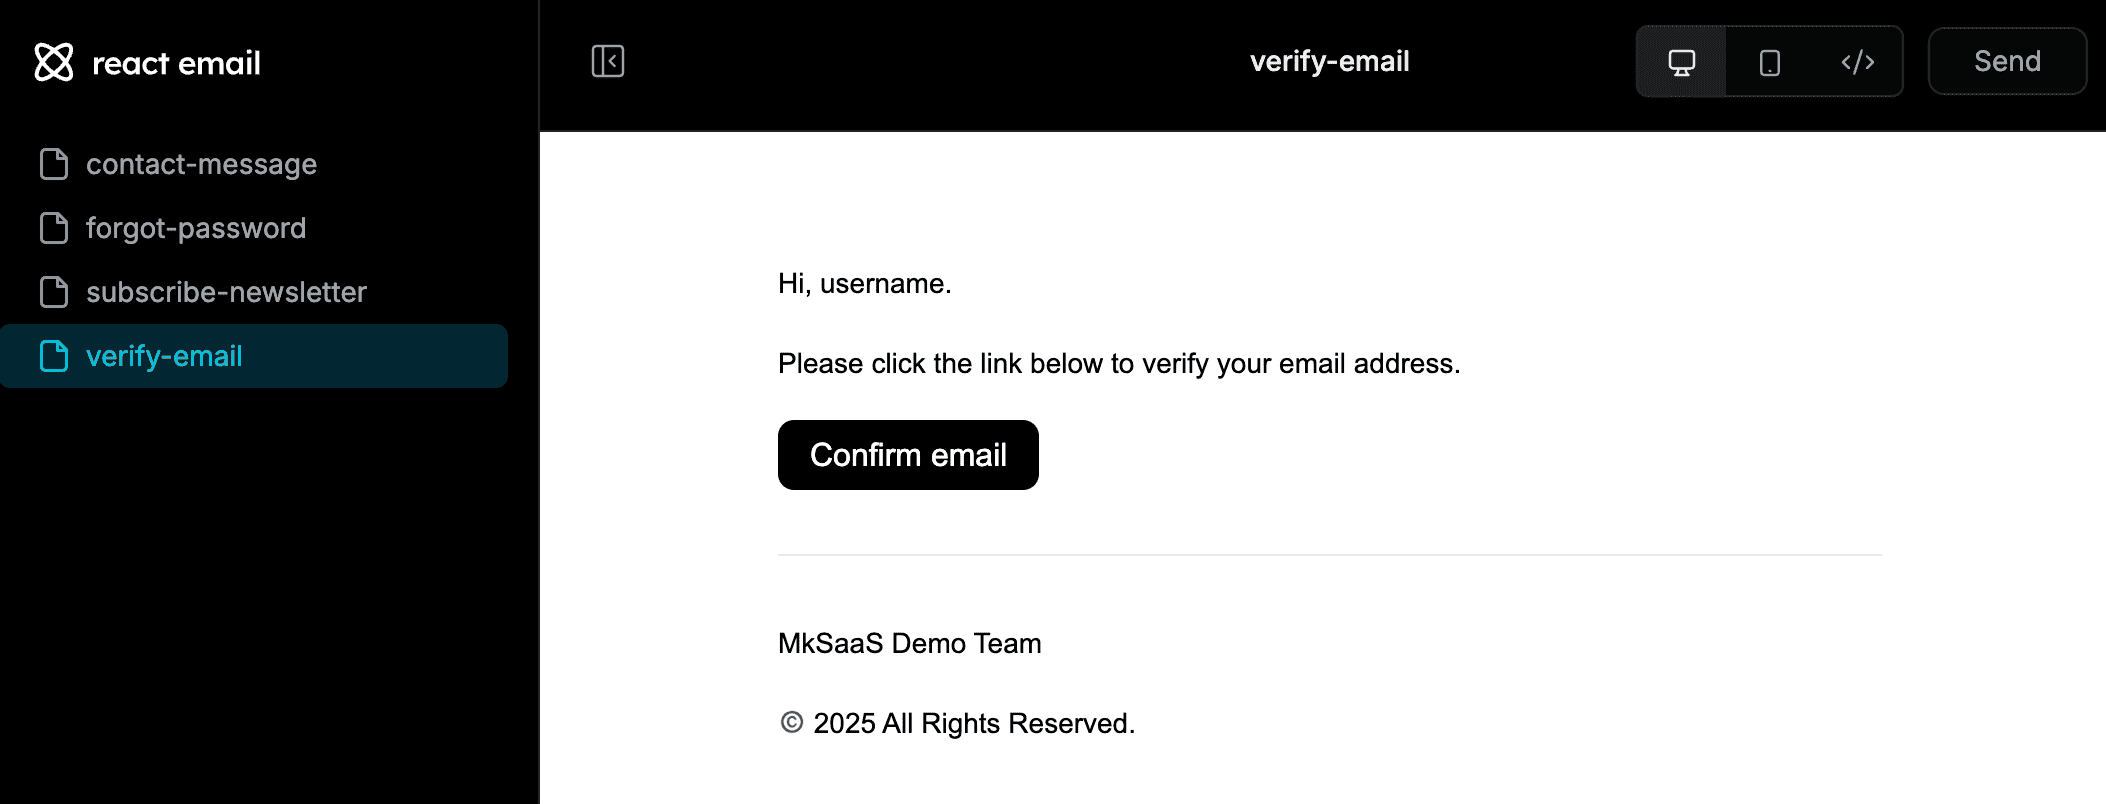
Preview Emails
Preview emails before sending them:
pnpm run emailThis will start a local server that will allow you to preview the emails in your browser.
Creating Custom Templates
- Create a React component in the
src/mail/templatesdirectory:
import { BaseEmailProps } from '@/mail/types';
import { EmailLayout } from '../components/email-layout';
import { EmailButton } from '../components/email-button';

interface MyCustomEmailProps extends BaseEmailProps {
  username: string;
  actionUrl: string;
}

export function MyCustomEmail({
  username,
  actionUrl,
  messages,
  locale
}: MyCustomEmailProps) {
  return (
    <EmailLayout>
      <p>Hello {username}!</p>
      <p>Thanks for joining our platform. Click the button below to get started.</p>
      <EmailButton href={actionUrl}>Get Started</EmailButton>
    </EmailLayout>
  );
}- Update the
EmailTemplatesinterface intypes.ts:
export interface EmailTemplates {
  // ... existing templates
  myCustomEmail: MyCustomEmail;
}- Use the template:
await sendEmail({
  to: 'user@example.com',
  template: 'myCustomEmail',
  context: {
    username: 'John',
    actionUrl: 'https://example.com/start',
  },
});
Extending New Email Providers
MkSaaS supports extending with new email providers:
- Create a new file in the
src/mail/providerdirectory - Implement the
MailProviderinterface fromtypes.ts - Update the provider selection logic in
index.ts
Example implementation:
import { MailProvider, SendEmailResult, SendRawEmailParams, SendTemplateParams } from '@/mail/types';

export class MyProvider implements MailProvider {
  constructor() {
    // Initialize your provider
  }

  public async sendTemplate(params: SendTemplateParams): Promise<SendEmailResult> {
    // Implementation for sending template emails
  }

  public async sendRawEmail(params: SendRawEmailParams): Promise<SendEmailResult> {
    // Implementation for sending raw emails
  }

  public getProviderName(): string {
    return 'my-provider';
  }
}
Then update the provider selection in index.ts:
import { MyProvider } from './provider/my-provider';

export const initializeMailProvider = (): MailProvider => {
  if (!mailProvider) {
    if (websiteConfig.mail.provider === 'resend') {
      mailProvider = new ResendProvider();
    } else if (websiteConfig.mail.provider === 'custom') {
      mailProvider = new CustomMailProvider();
    } else {
      throw new Error(
        `Unsupported mail provider: ${websiteConfig.mail.provider}`
      );
    }
  }

  return mailProvider;
};