网站部署
Docker
学习如何使用 Docker 部署您的项目
本文档将帮助您使用 Docker 或 Dokploy 部署您的项目。
使用 Dockerfile 部署
MkSaaS 模板内置 Dockerfile 和 .dockerignore 文件,因此您可以轻松使用 Docker 部署它。
# syntax=docker/dockerfile:1
FROM node:20-alpine AS base

# Install dependencies only when needed
FROM base AS deps
# Check https://github.com/nodejs/docker-node/tree/b4117f9333da4138b03a546ec926ef50a31506c3#nodealpine to understand why libc6-compat might be needed.
RUN apk add --no-cache libc6-compat
WORKDIR /app

# Install dependencies
COPY package.json pnpm-lock.yaml* ./
# Copy config files needed for fumadocs-mdx postinstall
COPY source.config.ts ./
COPY content ./content
RUN npm install -g pnpm && pnpm i --frozen-lockfile

# Rebuild the source code only when needed
FROM base AS builder
WORKDIR /app
COPY --from=deps /app/node_modules ./node_modules
COPY . .

# Next.js collects completely anonymous telemetry data about general usage.
# Learn more here: https://nextjs.org/telemetry
# Uncomment the following line in case you want to disable telemetry during the build.
# ENV NEXT_TELEMETRY_DISABLED 1

RUN npm install -g pnpm \
  && DOCKER_BUILD=true pnpm build

# Production image, copy all the files and run next
FROM base AS runner
WORKDIR /app

ENV NODE_ENV=production
# Uncomment the following line in case you want to disable telemetry during runtime.
# ENV NEXT_TELEMETRY_DISABLED 1

RUN addgroup --system --gid 1001 nodejs
RUN adduser --system --uid 1001 nextjs

COPY --from=builder /app/public ./public

# Set the correct permission for prerender cache
RUN mkdir .next
RUN chown nextjs:nodejs .next

# Automatically leverage output traces to reduce image size
# https://nextjs.org/docs/advanced-features/output-file-tracing
COPY --from=builder --chown=nextjs:nodejs /app/.next/standalone ./
COPY --from=builder --chown=nextjs:nodejs /app/.next/static ./.next/static

USER nextjs

EXPOSE 3000

ENV PORT=3000
ENV HOSTNAME="0.0.0.0"

# server.js is created by next build from the standalone output
# https://nextjs.org/docs/pages/api-reference/next-config-js/output
CMD ["node", "server.js"]
.cursor
.claude
.conductor
.kiro
.github
.next
.open-next
.source
.vscode
.git
.wrangler
.dockerignore
node_modules
**/node_modules
Dockerfile
LICENSE使用 Docker 在本地运行
如果您的本地机器上安装了 Docker 并想在本地运行您的 MkSaaS 网站以测试 docker 镜像,只需从项目根目录运行以下命令:
docker build . --no-cache -t mksaas-template
docker run -p 3000:3000 mksaas-template
现在您可以将 MkSaaS 网站部署到任何支持 docker 镜像的服务器。
使用 Dokploy 部署
我推荐使用 Dokploy 来部署 MkSaaS,因为它更容易配置,并且您可以获得像 Vercel 一样的自动 CI/CD 流程。
前提条件
在使用 Dokploy 部署项目之前,请确保您有:
- 包含项目代码的 Git 仓库(如 GitHub)
- 在您自己的服务器上安装的自托管 Dokploy 实例 (可参考 Dokploy 教程)
- 准备好为网站的生产环境配置的环境变量
部署步骤
在 Dokploy 上创建新项目
点击 Create project 按钮并设置项目名称和描述。
在项目中创建应用程序
点击 Create services 按钮并选择 Application,然后设置应用程序名称和描述。
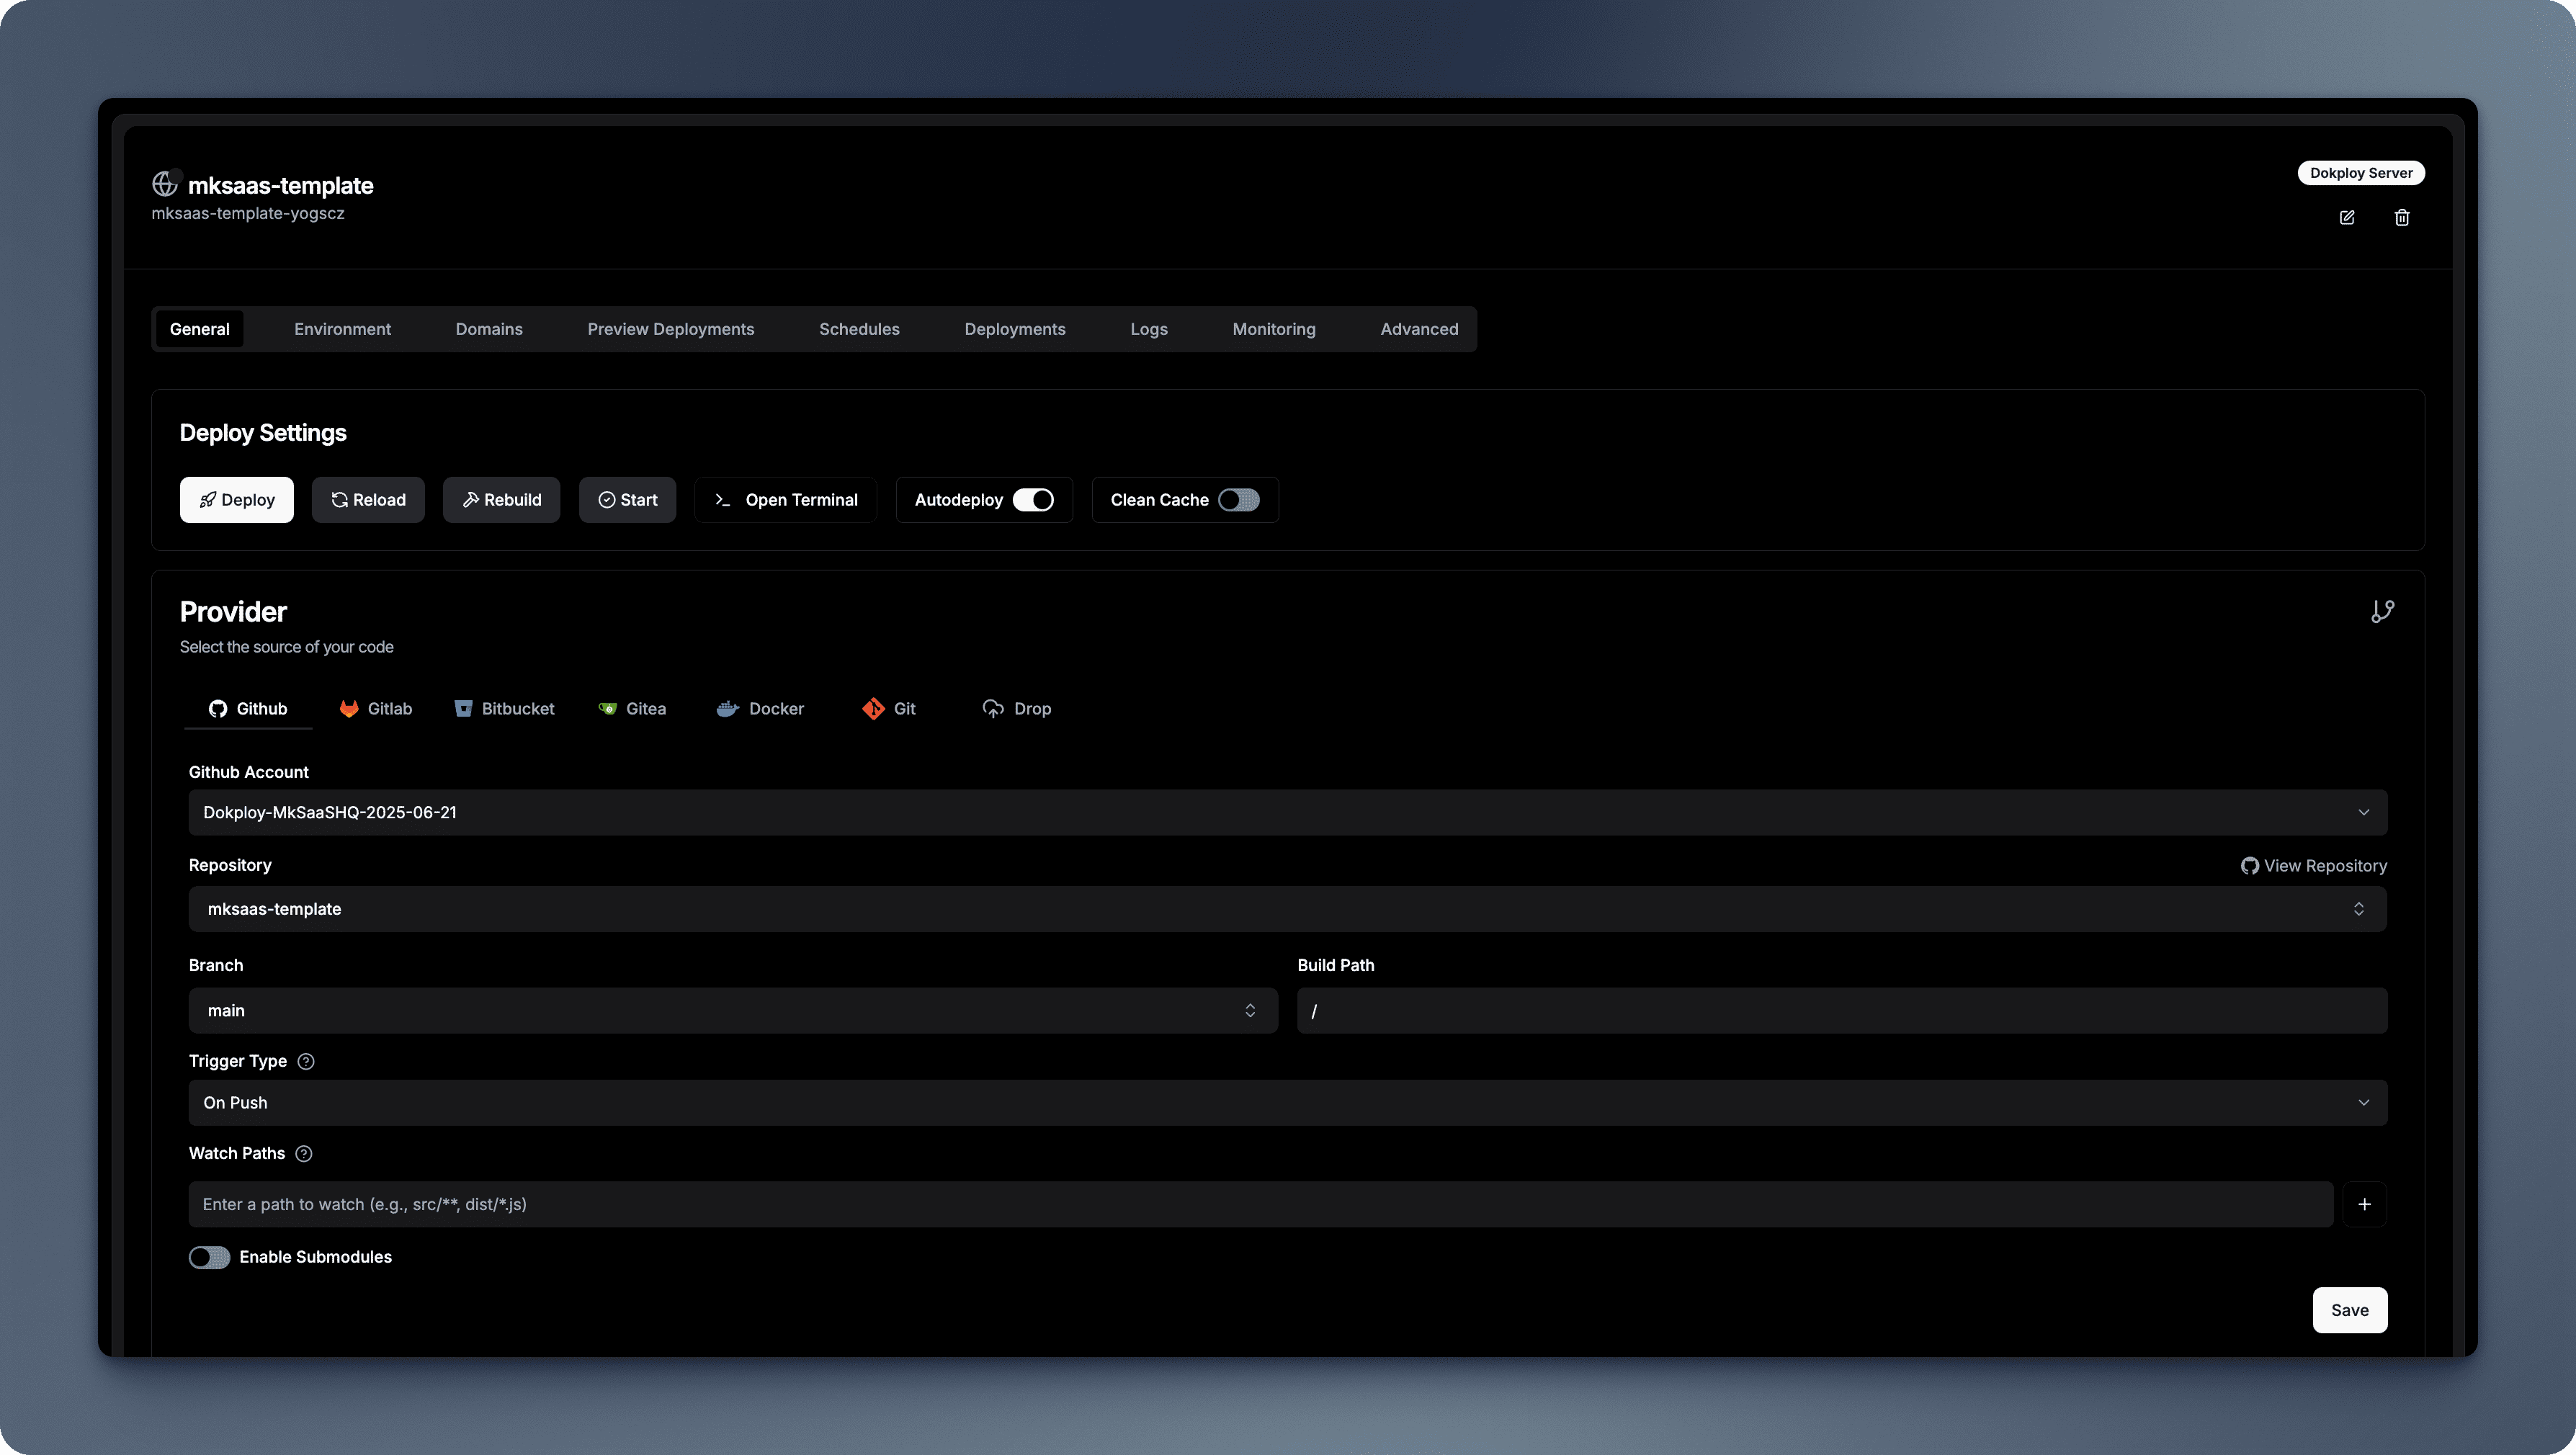
绑定您的 Github 账户、仓库和分支
在 Provider 部分,点击 Github 按钮并选择 Github 账户、仓库和分支。
设置构建类型和 Docker 文件
在 Build Type 部分,选择 Dockerfile,并将 Dockerfile 路径设置为 ./Dockerfile。
部署项目
点击 Deploy 按钮开始部署,Dokploy 将自动构建和部署您的项目。
绑定您的域名
- 在
Domains部分,点击Add Domain按钮 - 将
Domain设置为您的自定义域名,Path设置为/,Port设置为3000 - 启用
HTTPS选项,并将Let'sEncrypt设置为证书提供商 - 点击
Create按钮 - 在您的 DNS 提供商上为您的域名添加 DNS 记录
- 将环境变量
NEXT_PUBLIC_BASE_URL更改为您的自定义域名 - 重新部署项目以应用更改
参考资料
下一步
现在您了解了如何将 MkSaaS 网站部署到 Dokploy,请探索其他相关主题: